Free shipping for CAD & USA orders over $250
The Eyeliner Guide: Mastering the Perfect Liquid Wing in 6 Precise Steps
For so many of us, the perfect cat-eye or winged liner is the ultimate beauty goal. It’s a classic, dramatic look that makes eyes look larger, brighter, and more defined. But let’s be real: achieving that crisp, symmetrical wing is often a daily battle, filled with a cemetery of used cotton swabs and frustration.
GUIDE
Wright Artistry
3/8/20265 min read


For so many of us, the perfect cat-eye or winged liner is the ultimate beauty goal. It’s a classic, dramatic look that makes eyes look larger, brighter, and more defined. But let’s be real: achieving that crisp, symmetrical wing is often a daily battle, filled with a cemetery of used cotton swabs and frustration.
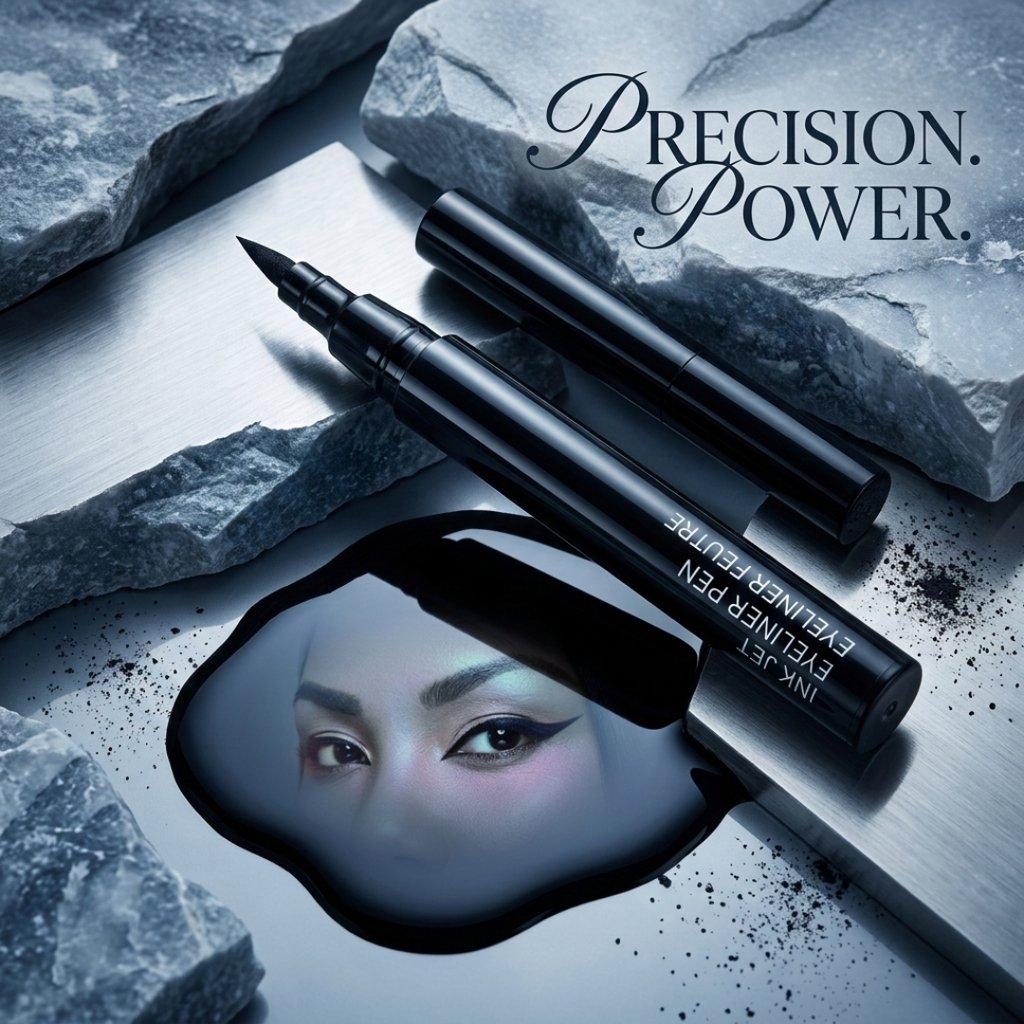
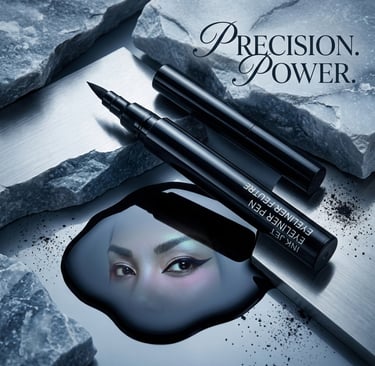
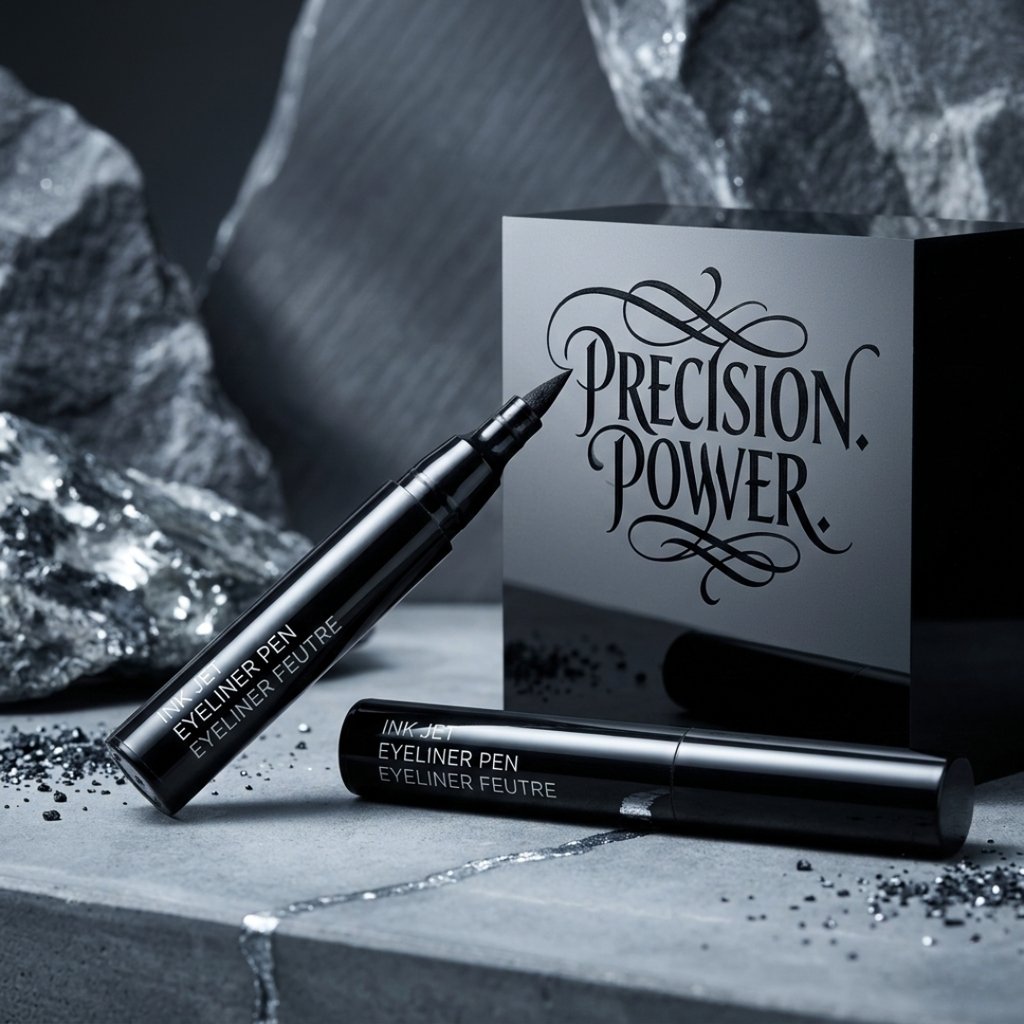
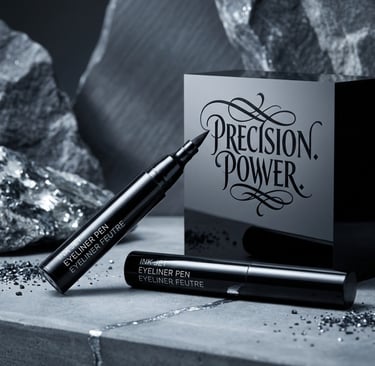
We’re here to declare that struggle officially over. Today, we’re breaking down the precise formula for creating a flawless cat-eye, using our highly curated 6-step infographic guide. And the secret to success isn't just technique—it’s also having the right tool. Our Master Copy INK JET Felt-Tip Eyeliner Pen (Eyeliner Feature) is the precision weapon you've been searching for.
Keep reading to turn your liner routine from a source of dread into a precise, confidence-boosting beauty ritual.

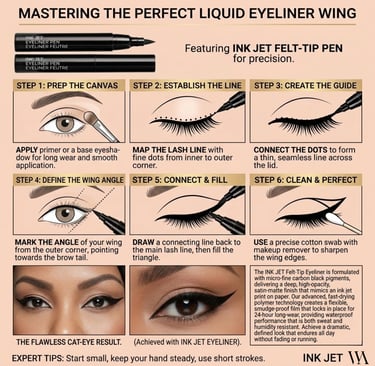
Step 1: Prep the Canvas
Before a single drop of liner touches your lid, you must prepare the skin. Just like painting, a smooth canvas is crucial. Eyelids naturally produce oil, which can cause even the best liners to slide or smudge.
The Infographic Action: The visual shows a professional brush applying a sheer base.
The Advice: "APPLY primer or a base eyeshadow for long wear and smooth application." A quality eyeshadow primer is your best friend here. It creates a smooth surface for application and helps the product adhere, ensuring your wing doesn't disappear before lunch. Follow with a sheer base shadow that matches your skin tone.
Step 2: Establish the Line
Don't try to draw a perfect, continuous line in one go—that’s where most errors happen. Instead, map out where you want the line to be.
The Infographic Action: The felt tip of the INK JET pen is shown connecting a pre-existing dotted guide.
The Advice: "MAP THE LASH LINE with fine dots from inner to outer corner." Use the very fine tip of the INK JET pen to place tiny, fine dots along your upper lash roots. The text specifies "fine dots," which create a clear path without adding unnecessary bulk. Start at the inner corner and work your way outwards. This makes connecting them much easier.
Step 3: Create the Guide
Now, it’s time to connect the dots you mapped out, forming the foundational guide for your wing.
The Infographic Action: The felt tip is shown creating a continuous line that thickens slightly towards the outer corner.
The Advice: "CONNECT THE DOTS to form a thin, seamless line across the lid." In this step, you connect those dots into a continuous, thin line. Use short, controlled strokes. Your goal here is to get a smooth, even application along the entire lash line, creating a clean definition that looks almost seamless. The visual guide in Step 2 helps you maintain a steady hand.
Step 4: Define the Wing Angle
This is the moment of truth: setting the angle of your wing. The key is finding a consistent landmark.
The Infographic Action: The eye is shown with a dotted guideline showing the angle, from the lower lash line up towards the end of the brow.
The Advice: "MARK THE ANGLE of your wing from the outer corner, pointing towards the brow tail." Imagine your lower lash line is extending upwards. That's your guide! Place a precise mark where you want the wing to end. The text guides you to point this line towards your "brow tail." This landmark works for almost all eye shapes and helps create flattering, symmetrical wings.
Step 5: Connect and Fill
You’ve set the guide, now you need to connect it back to the main line and create the triangle shape.
The Infographic Action: The pen is shown connecting the endpoint of the wing back to the lash line, and then beginning to fill in the shape.
The Advice: "DRAW a connecting line back to the main lash line, then fill the triangle." From the end point you just marked, draw a straight line back to meet the line you created in Step 3. You should now have a triangle shape on your outer corner. Once that structure is set, use the felt tip to carefully fill it in. Voila! You have a defined wing.
Step 6: Clean and Perfect
Don't stress if it's not perfect on the first try. Everyone makes mistakes! This final step is where you transform a good line into a perfect one.
The Infographic Action: A cotton swab is used to clean and sharpen the very bottom edge of the wing.
The Advice: "USE a precise cotton swab with makeup remover to sharpen the wing edges." Take a precise-tip cotton swab (these are a game-changer!) and soak it slightly in your favorite makeup remover. Gently swipe it along the very bottom edge of your wing to create a crisp, clean, professional finish. This step is also great for erasing any tiny mistakes.
The Secret Sauce: The INK JET Formula
Why did we choose the Master Copy INK JET Felt-Tip Eyeliner Pen for this guide? It’s simple: because technique can only get you so far without a superior product. Our INK JET liner is designed for exactly this level of precision and endurance.
Our detailed formula explanation on the infographic says it all:
"The INK JET Felt-Tip Eyeliner is formulated with micro-fine carbon black pigments, delivering a deep, high-opacity, satin-matte finish that mimics an ink jet print on paper. Our advanced, fast-drying polymer technology creates a flexible, smudge-proof film that locks in place for 24-hour long-wear, providing waterproof performance that is both sweat and humidity resistant. Achieve a dramatic, defined look that endures all day without fading or running."
The super-fine felt tip allows for the precise dots in Step 2 and the ultra-sharp edge in Step 6, while the formula ensures that once you create that perfect look, it stays perfect all day.
Expert Tips for Extra Perfection:
The bottom of our guide also includes three key pieces of advice from our makeup artist experts:
Start small: It's always easier to add more product than it is to remove it. Create a thin line first, and only thicken it once you have the structure you love.
Keep your hand steady: Rest your elbow on a table or counter for stability. Use a mirror you can get close to.
Use short strokes: Connecting dots and drawing lines in short strokes gives you far more control than trying to draw a long, continuous line.
We hope this 6-step breakdown helps you on your journey to mastering the flawless wing. With the right technique and the incredible precision of our INK JET Eyeliner, you’ll be achieving dramatic, defined looks that endure all day, effortlessly.
Ready to try it for yourself? Shop our Master Copy INK JET Eyeliner Pen and tag us in your flawless cat-eye results!